About a year ago I made a table for William's birthday. This year I decided to make him a chair to go with the table.
I learnt quite a bit making the table and that coupled with a few other projects (a raised bed and a small phone stand amongst others) meant that I was much more confident with my woodworking skills this time round.
When making the table the wood for the legs was maybe a bit thin for an amateur like myself and meant I had to use screws to hold everything together. This time I chose something a bit thicker, which would make creating "proper" joints much easier.
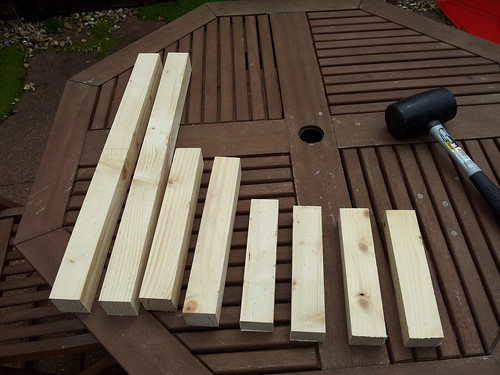
After brushing up on my chiselling technique I found making mortise and tenon joints pretty straightforward.
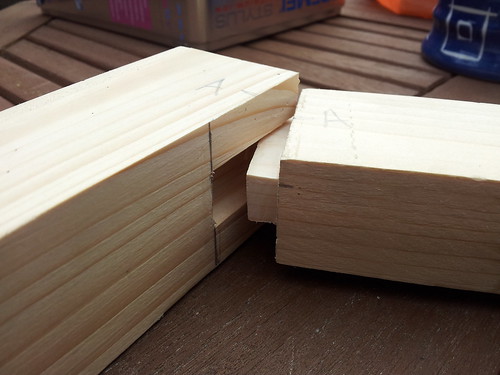
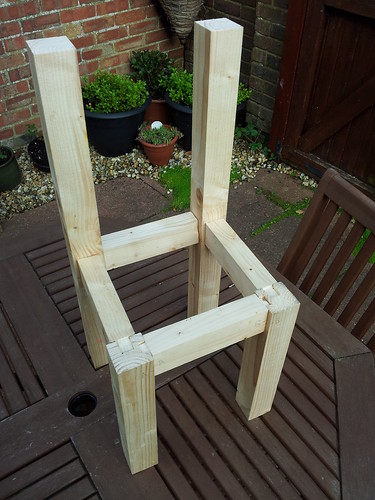
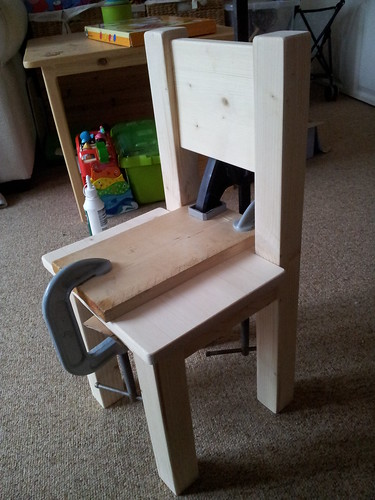
The great thing about using mortise and tenon joints was that I could then easily dry fit the pieces. At this stage it could even bear weight - though a knock from the side would cause it to fall apart again.
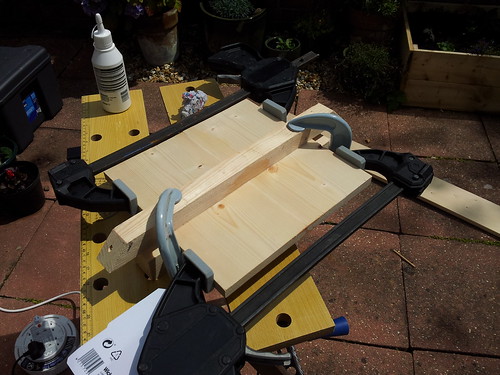
Next step was to create the base of the seat. This involved drilling holes in two pieces of wood, inserting dowels, gluing and clamping to make a wide enough single piece of wood. This was the same process I did when making the table, but I only needed to use two pieces of wood not four.
Then cut out the corners of the seat, made a small back for the chair and started to glue and clamp the frame pieces together.
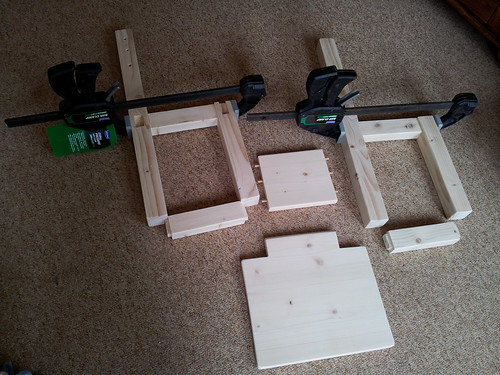
Lastly I drilled small holes into the bottom of the seat and top of the frame to insert dowels before gluing the seat in place.
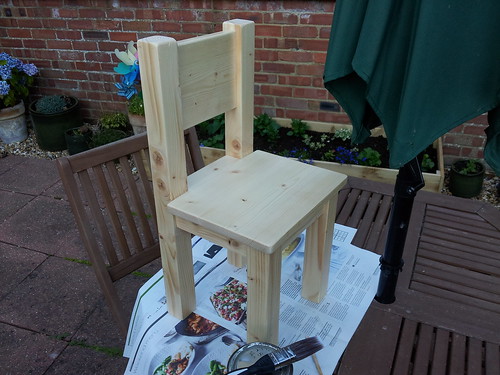
With a couple of coats of varnish the chair looked pretty good.
The addition of a booster cushion made by Heather was the perfect finishing touch and a great second birthday present for William.
