About a year ago I started on a project to make a temperature controlled nightlight. I was inspired by seeing these lovely LED lamps styled as mushrooms growing out of pieces of wood. Those mushrooms were made out of glass, which was somewhat beyond my skills. However I then saw some had used translucent sculpey to make mushroom nightlights on instructables. So with that discovery it seemed like it would be rather simple to do...
The first job was to solder up a three colour (RGB) LED (a super bright one from oomlout):
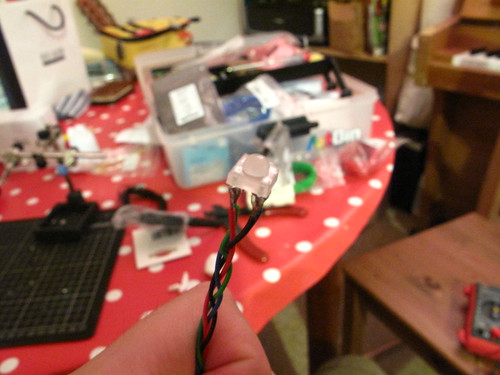
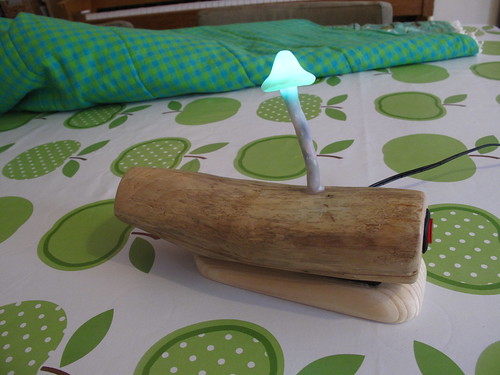
I then covered the LED in translucent Fimo:
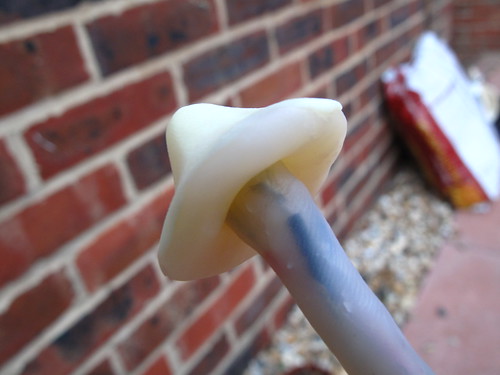
As Fimo only needs to be heated to about 100C to set it's ok to do this, as it won't hurt the LED. Also LEDs don't normally give out much heat, so covering them is ok. Of course this is a relatively low power (though quite bright) LED as well which helps.
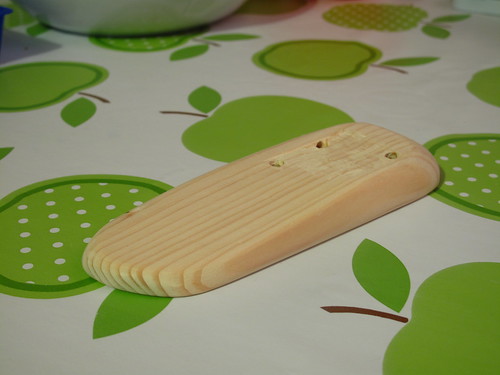
I found a branch on the way home from work, which I cut up and sanded down. This formed the base for the mushroom:
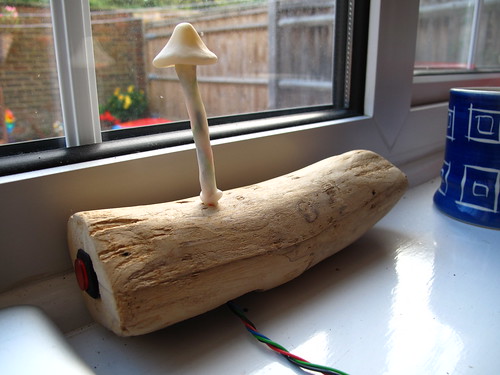
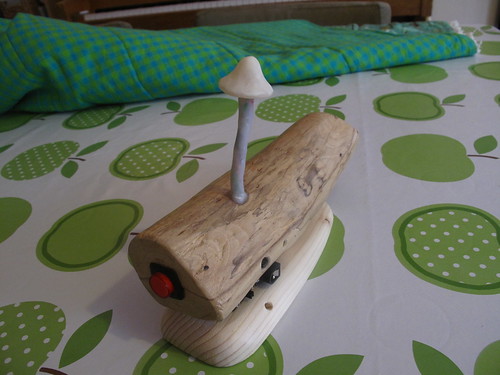
As you can see I also opted for a chunky on/off button, in the style of the original mushroom lamps.
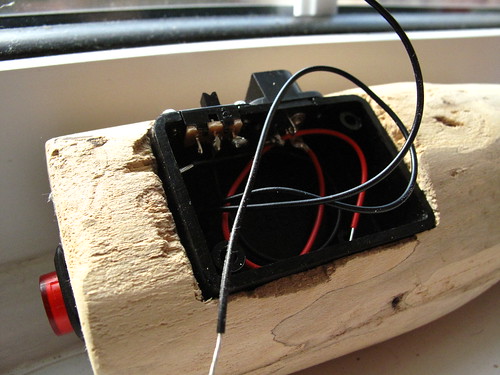
Next I put a small electronics project box into the bottom of the piece of wood and made space for a slide switch and power socket:
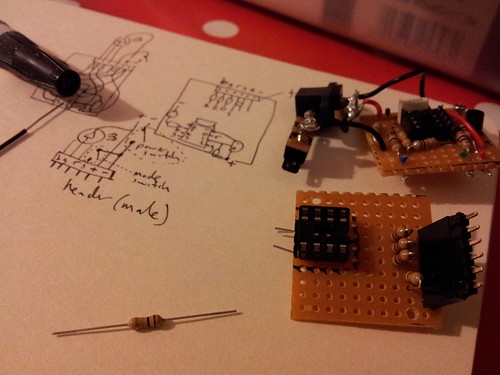
At the time I decided to try to use a Picaxe 08m chip to control the LED and read from a temperature sensor. The Picaxe 08m has a native function to read the temperature from a DS18B20 One Wire digital temperature sensor. It also had just about enough inputs and outputs to handle controller the three colors of the LED and reading from a slide switch (to make it switch between temperature display and plain nightlight). The individual chips were also pretty cheap, so it seemed like a good plan at the time.
However the size of the circuit and number of components I needed to solder was all a bit too much for me:

Eventually after much debugging I was able to get some things working - e.g. controlling the colour of the LED, but the temperature sensor just wouldn't cooperate and always gave a high reading. I also managed to get through a few sensors due to mis-wiring them!
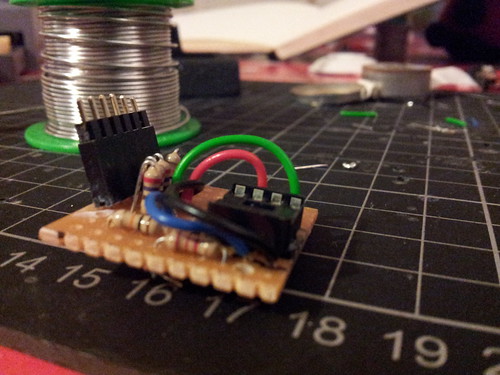
So I decided it was time to start again with the circuit. I bought a better soldering iron (a not too expensive digital temperature controlled one) and started on a new circuit:
And before I could finish everything I lost impetus (an active toddler and a lack of sleep may have played a part) and the project sat on a shelf for nearly a year.
Then after discussing a friend's Arduino experiments I realised that maybe I could use an Arduino Pro Mini to finish the job.
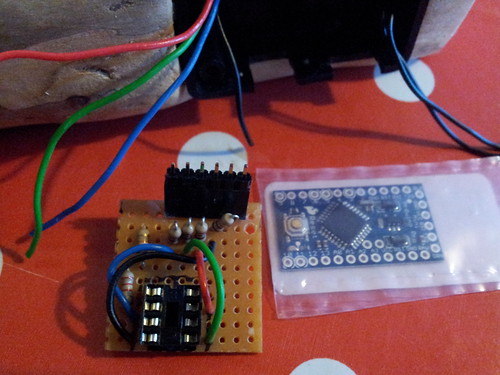
The Arduino was a lot more powerful than the Picaxe chip, with several K of RAM (vs. the 512 bytes for the 08m). Though it was overkill and cost more than the Picaxe chip it would make my life a lot easier. The Arduino gave me a 5V regulated power supply, so I could use the slightly simpler to read from TMP36 temperature sensor. I could also use internal an pullup resistor for the slide button. The other advantage to all that processing power was that I could use PWM (Pulse Width Modulation) when controlling the LED to produce a full range of colours. With the Picaxe I could only really have seven colours, with no smoothing between them. As this was intended to be used in the aforementioned toddlers bedroom having nice smooth transitions between colours was very appealing.
I soldered together the LED, switch, sensor etc to a small piece of perf-board with some female headers for mounting the Arduino too. I had to do a bit of work with a dremel to create more space, as the new setup was a bit taller too.
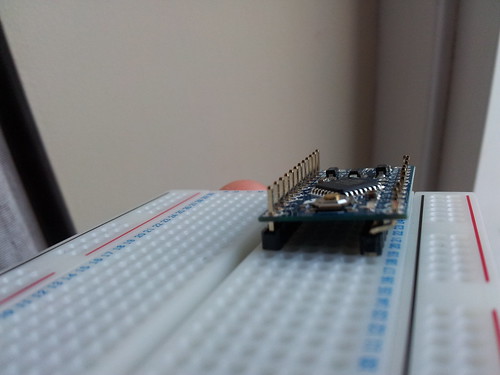
At this point I could then start programming the nightlight by hooking it up to a regular sized Arduino.
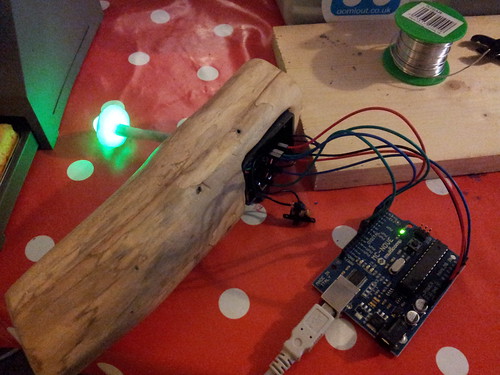
This was great as it proved that everything was working fine and I could just focus on the code. It also meant I could do things like temporarily wire in a potentiometer instead of the temperature sensor, to make debugging the code simpler:
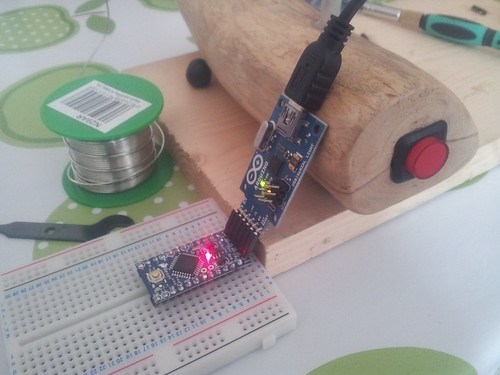
It was at this point that I then discovered what could have been a disastrous miscalculation - I spaced the headers for the Arduino Pro Mini too close together! Bit too much haste and perhaps a bit too little sleep, meant that I nearly had to start all over again for the fourth time! Luckily I found that as the headers were only 0.1" closer together than they should be I could use some extra long male headers soldered on to the Arduino and bent to compensate:
Then it was a case of programming the Arduino Pro Mini using a serial adapter (carefully balanced so as to make contact correctly). I found I had to reset the Pro Mini and un-plug and re-plug the USB cable to get it work properly, but once the connection was good I could reprogram the board easily enough.
All was good, so I decided to try out the nightlight by testing in different temperatures. The fridge seemed like a good starting point:
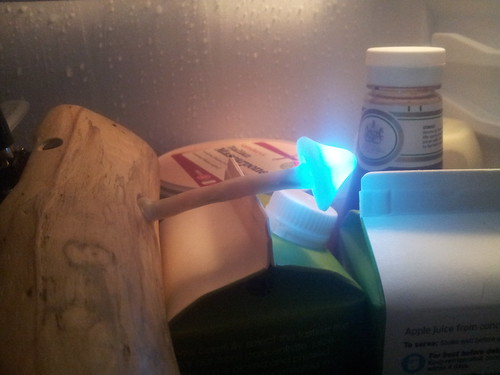
Luckily the weather was fairly warm that day too:
I recorded a timelapse of the LED's colour change as the temperature warmed up:

Sadly although the nightlight was responding to the change in temperature, it appeared that left to it's own devices it would tend to warm up over a few minutes and then read a couple of degrees higher than it should. Without the bottom cover on it too longer to do this, so it was clearly some sort of a cooling issue, as it still read higher again if I turned the nightlight off then on again. I think I should have placed the sensor much further away from the rest of the electronics and made sure it was well ventilated.
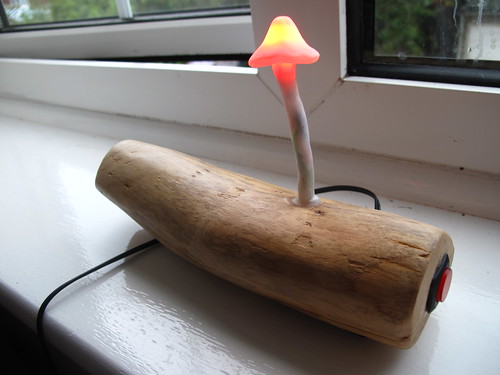
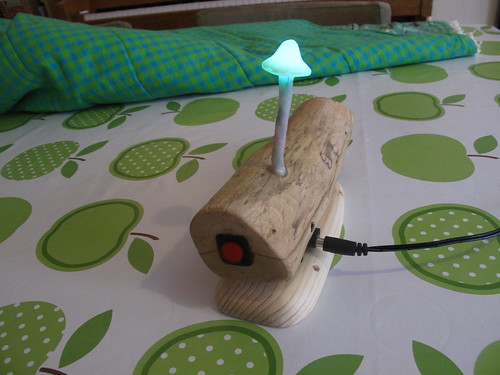
So to help stop provide a little cooling/ventilation I ended up carving a wooden base our of pine, that I could drill a hole at an angle for cooling with an exit hole in towards the top of the main section. The base also gave the nightlight a bit more heft and made it easier to turn on/off as well as to operate the switch to change it from temperature to simple nightlight.
Despite the slight disappointment that the temperature reading wasn't going to stay constantly useful, I am quite happy with the nightlight. It looks nice and will does work well as an actual nightlight. The temperature reading facility has been proving useful to see what the temperature of William's room is like and therefore what sort of nightclothes would work best. Given how protracted it's development has been I'm rather happy really. It's also rekindled my respect for the Arduino platform. The Mini Pro in particular is great. It's very small, but extremely powerful and as it's a bit cheaper than a full size Arduino makes it more appealing for embedding it into a project permanently. I guess the only downside would be the lack of integrated USB connection (for serial IO), but that's not needed for every project.
As usual source code is available in my Arduino Sketches github repo (plus a Fritzing wiring diagram of the circuit).