When I was younger I built and flew a couple of radio-controlled (R/C) aeroplanes. These were made from kits and were of a fairly modern style, with foam core balsa-covered wings and covered with heat shrink plastic (attached using a small iron). The two planes I finished used small two stroke internal combustion engines running on glow fuel and had roughly 5' wing spans. They were fairly sizeable. I found them a bit unnerving to fly as that propellor had quite a lot of force behind it and could easily of taken off a finger or more. I did get my licence to fly (which was mostly to meet the requirements for getting the 3rd party liability insurance the BMFA provided), but after a few crash/rebuilds I lost interest and moved on to other things. It also didn't help that the nearest club was a fair drive away and I was too young to drive.
This marked the end of my youthful interest in aviation.
Like many children growing up in the 80's aeroplanes were one of those things that you just seemed to know about. I knew far too many names and details about WW2 aircraft in particular. The TV always showed re-runs of Battle of Britain, 633 Squadron and The Dam Busters. Spitfire, Messerschmitt, Focke-Wulf, Hurricane, Mosquito, Lancaster, Heinkel were household names as far as I was concerned. Airfix kits were a regular fixture too.
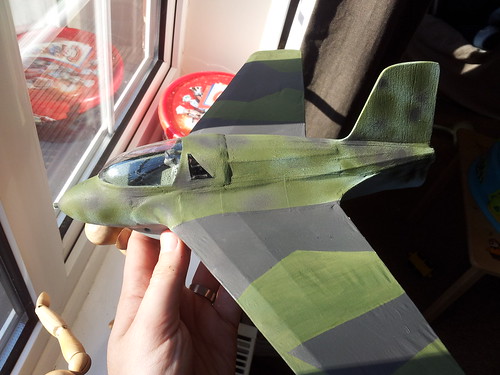
Much like the real ME 163 this kit could take a rocket motor. I opted to just make it a glider and would launch it with a bungee cord.
The Messerschmitt ME 163
In Wings of the Luftwaffe, allied test pilot Eric Brown talks about flying a captured ME 163. The German ground crew really didn't want him to fly the plane. Apparently more ME 163 pilots died in accidents than in combat. The highly explosive two part liquid rocket fuel had a tendency to ignite and explode at the slightest provocation. In fact pilots had to ensure the fuel had been used up before attempting a landing - otherwise the slightest bump might ignite the remaining fuel and cause an uncontrolled explosion.
That said the ME 163 is one of those aircraft (like the ME 262 jet fighter and HO 229 flying wing jet bomber) from WW2 that looked like it belongs in some alternate World War 2 timeline. With it's swept wing and tailless body it seems entirely alien to more "standard" aircraft of the period, such as the Spitfire and the Mustang. Luckily the aesthetics of the ME 163 weren't a deciding factor in it's effect on the war. It probably worked as something of a calling card for it's designer Alexander Lippisch though, as he was later recruited as part of Operation Paperclip and went to the United States post-war.
The ME 163 was something of a last ditch attempt by the Third Reich to deal with the waves of Allied bombers. It's fantastic rate of climb meant that it was potentially very useful for interception/point defence, but it was almost too fast and it's guns were too slow, meaning it rarely scored much real damage on the enemy. That coupled with the explosive and accident prone rocket engine meant that it probably helped the Allies more than it hindered them.
Making the model
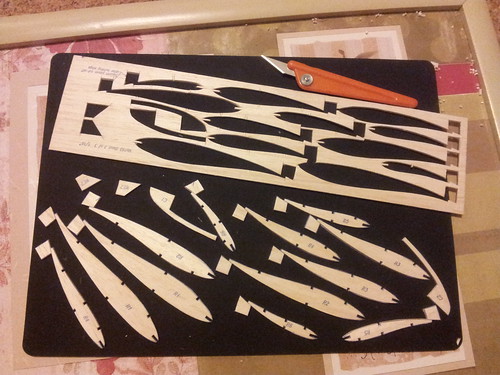
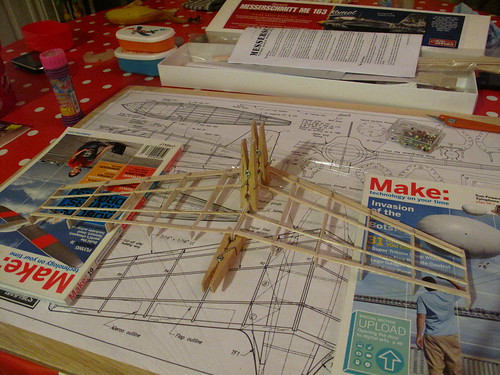
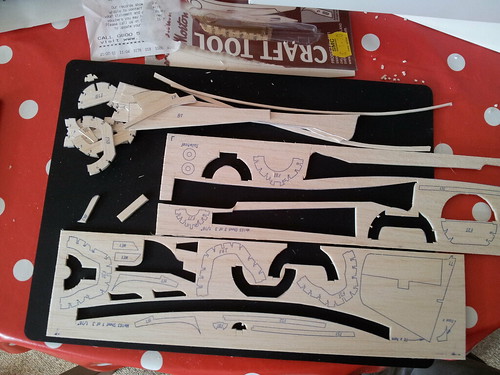
The ME 163 kit consisted of several sheets of 1/8" balsa sheets with parts printed on (uncut), plenty of 1/8" "stringers" and a few other asserted bits and pieces. The first job was therefore to cut out the required pieces from the balsa sheets. I started with the wing pieces:
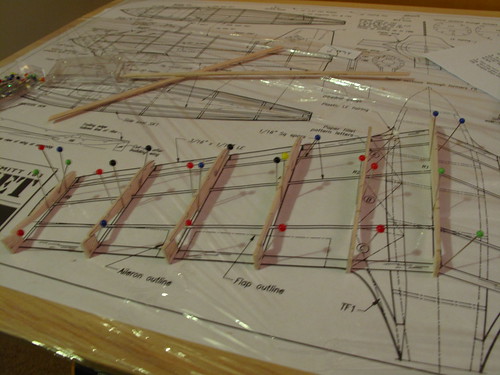
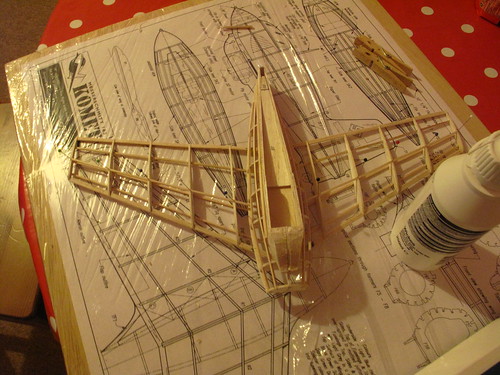
Then pinned them into place on top of the provided plan (after covering the plan with cling film, to avoid glue sticking to the plan):
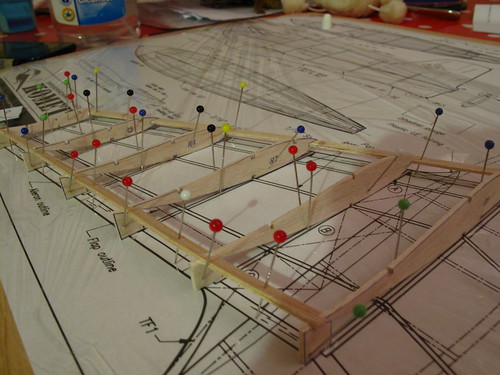
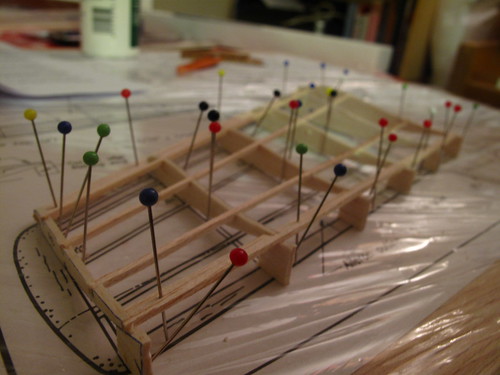
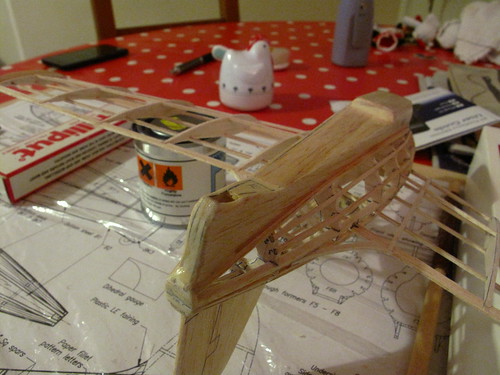
This was repeated for each wing, then the two wings halves were glued together - taking care to ensure that the wing tips were raised enough to add the right amount of dihedral:
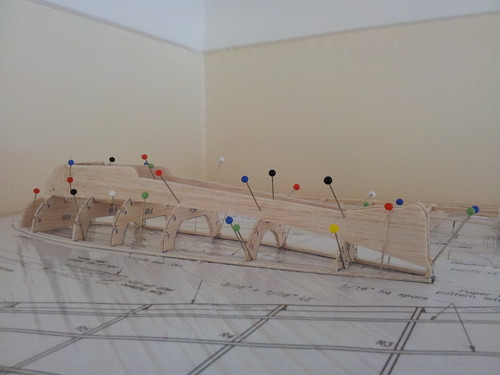
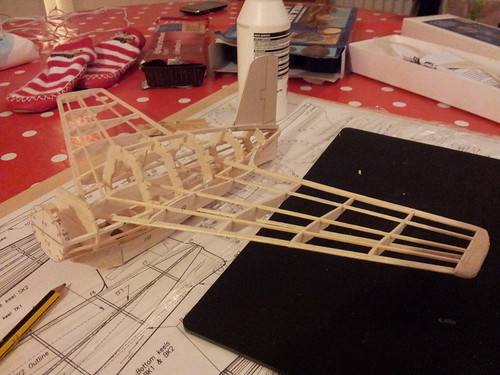
With the wing glued together the next job was the bottom of the fuselage:
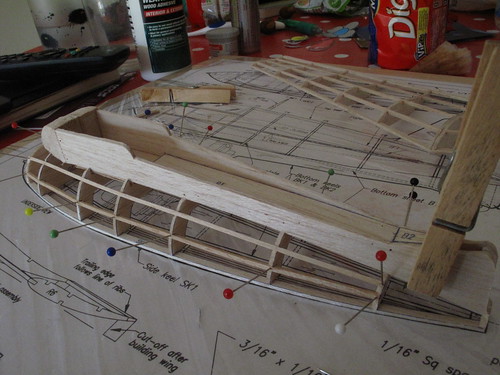
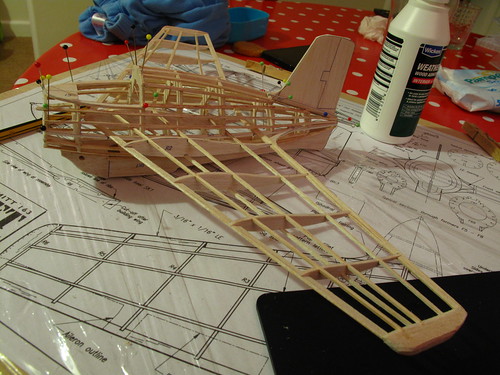
The bottom of the fuselage was then glued onto the wings:
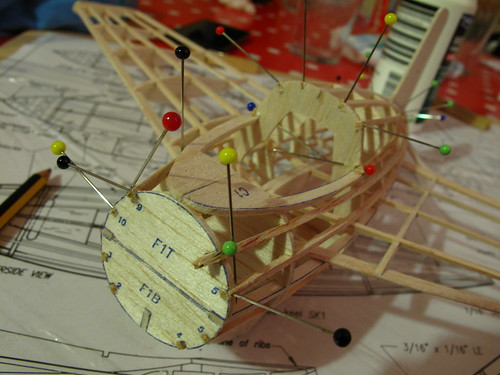
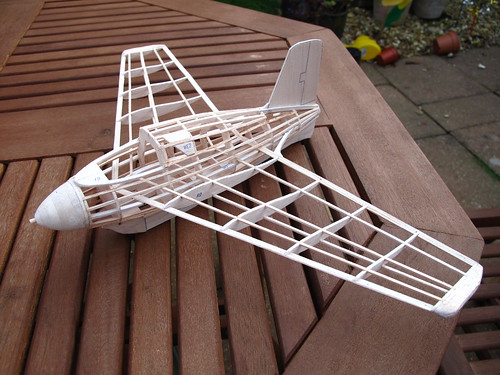
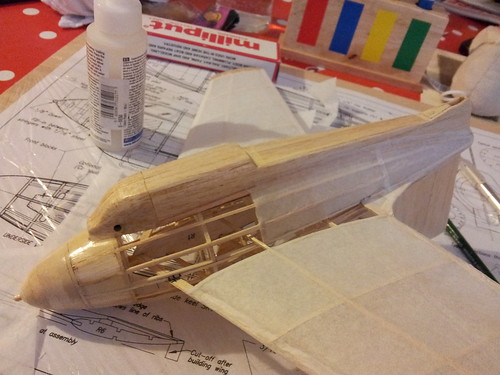
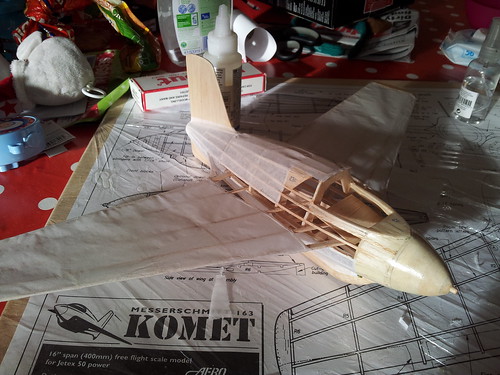
With the top of the fuselage than built on top of the bottom and wings:
Then I made a nosecone out of several pieces of thicker balsa shaped using my Dremel and added on the solid wing tips and it all started to really look like a proper plane:
Then the whole plane was sanded lightly and some sanding sealer applied to the solid balsa parts (nosecone, tips etc):
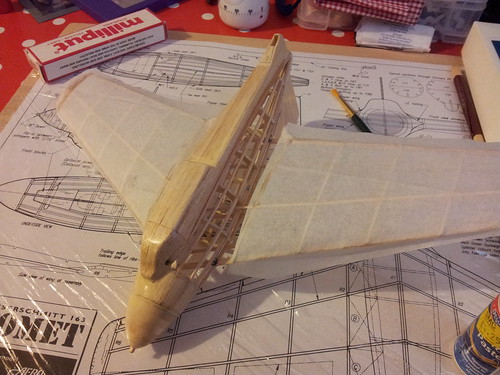
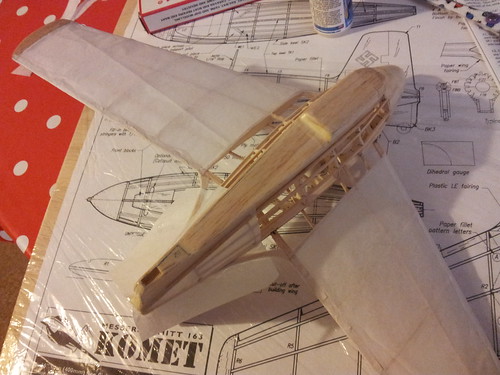
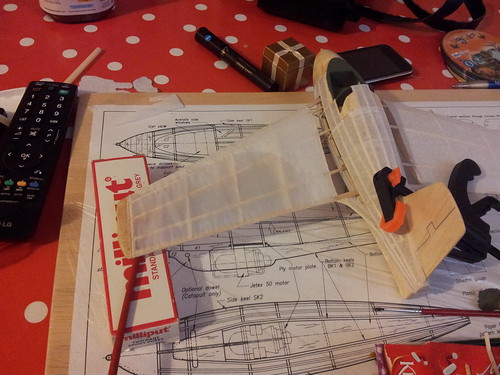
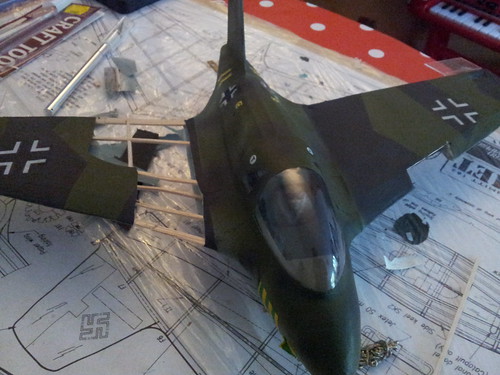
At this point all had gone pretty well. Then started the a potentially perilous next step - applying the tissue covering. First the wings:
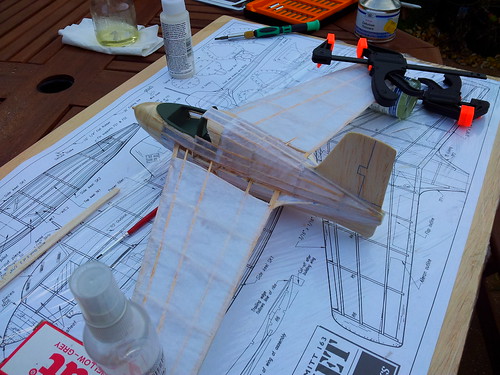
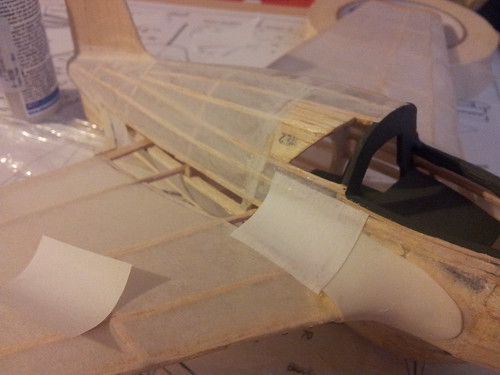
Then the fuselage:
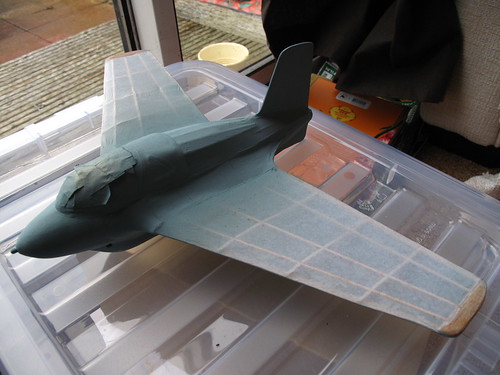
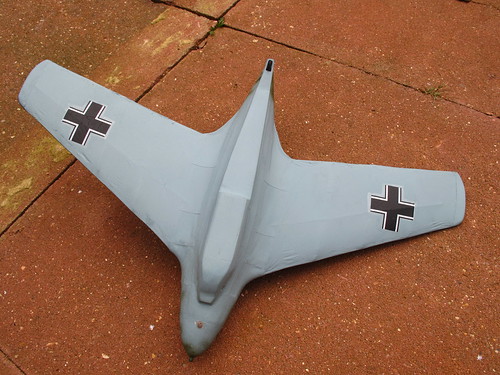
After all the tissue was stuck in place I used a fine water spray to shrink the tissue slightly. Then I used cellulose dope on the tissue to further shrink the tissue and to make it stiffer:
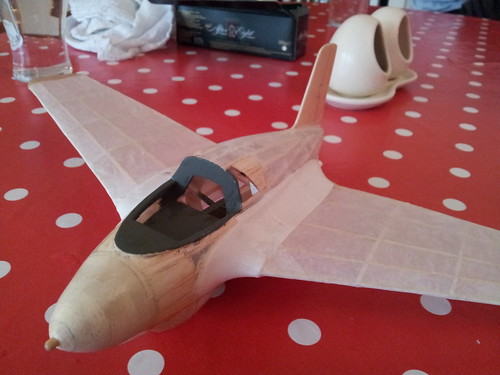
With the wings and fuselage covered in tissue and doped the next step was to add paper fillets to join the wings to the body properly. For this I used "bond" paper aka writing paper, which was then also doped:
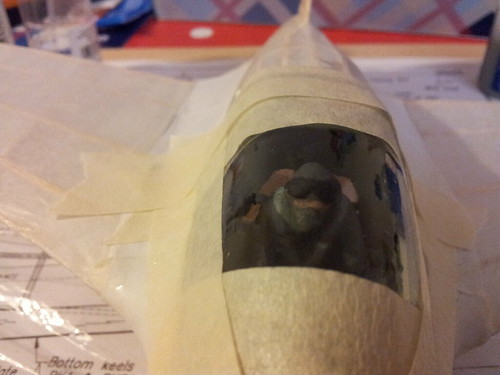
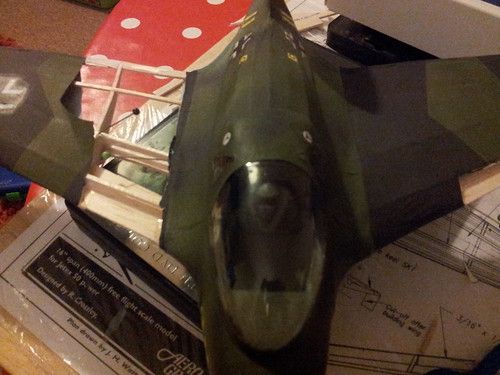
Then the plastic pilot was stuck together, painted with enamels and glued into place in the cockpit. I also had painted the inside of the cockpit by this stage:
With the pilot in place the canopy was glued in place with epoxy resin:
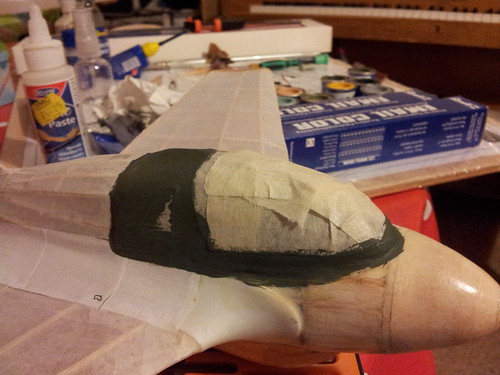
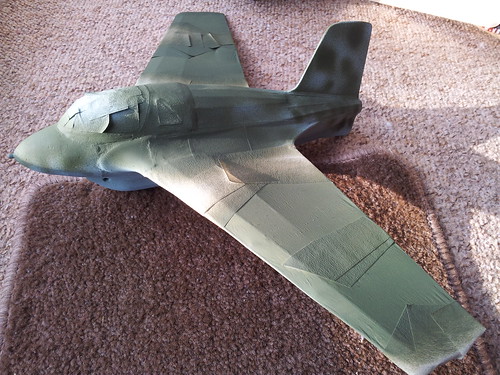
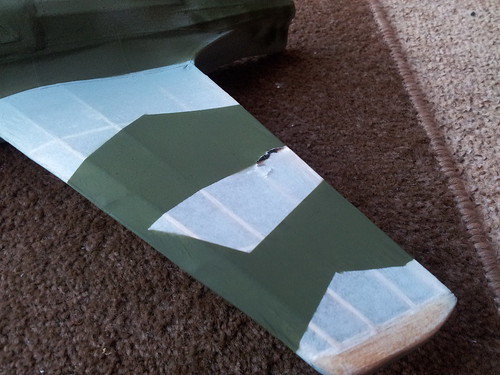
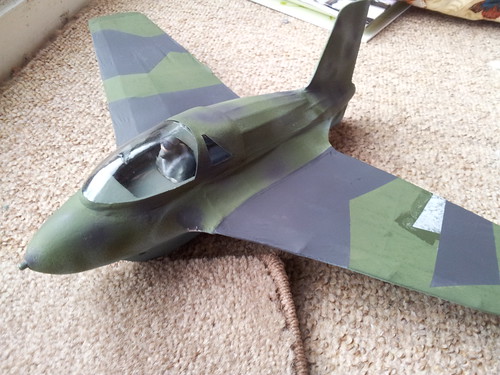
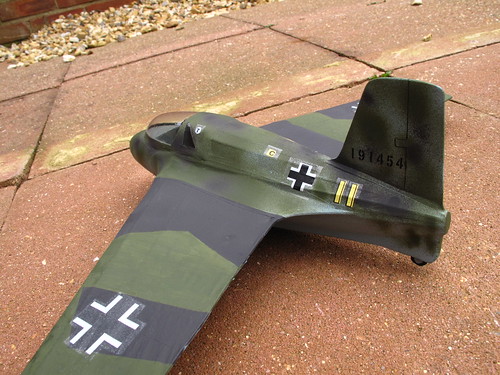
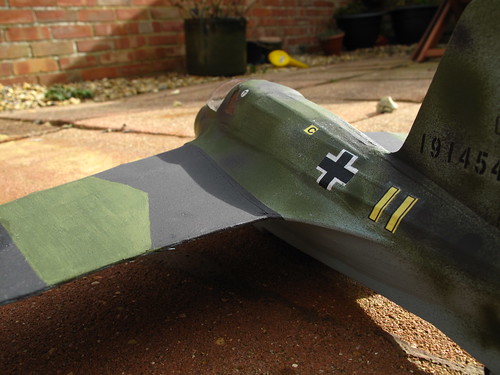
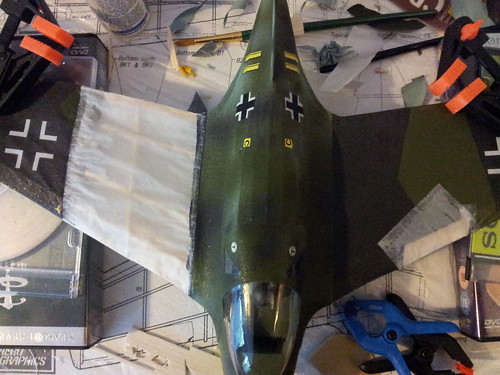
With everything glued in place I made use of an airbrush and a 50/50 mix of cellulose thinners and enamel paints to paint the ME 163. This proved to be quite tricky, as the airbrush clogged quite easily and the cans of compressed air I used always seemed to run out too quickly. The finish did look very good though and I couldn't have done the fuselage patterns any other way.
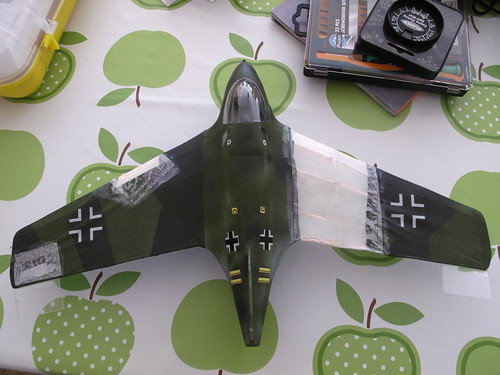
I think I should have got some low adhesive masking tape, as I ended up having to do some small repairs to the tissue on the wing when removing tape. I also made the mistake of not being able to exactly match the colour mixes I used. I could have mixed up larger batches and stored them until I was finished or used a straight out of the tin colour.
After airbrushing I applied the decals - using a little cellulose thinner to reduce silvering around the edges and the plane was looking pretty good:
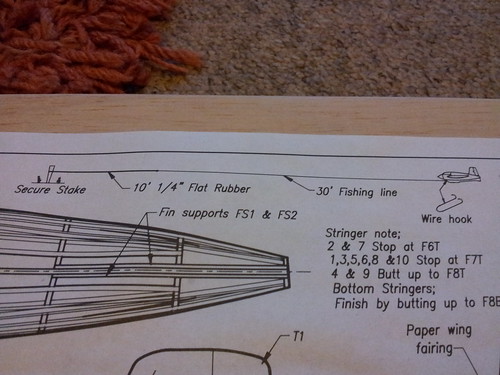
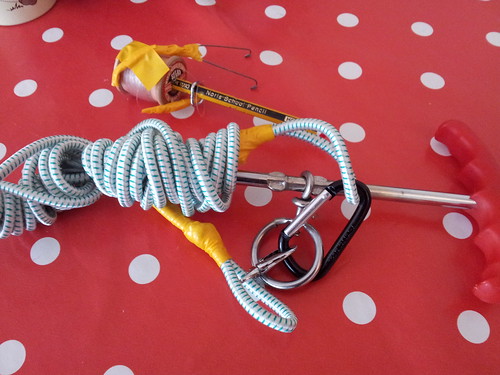
With the plane finished it was time to fly. After a fair bit of test throwing I bit the bullet and constructed a bungee + hook to fly the plane. This consisted of a "dog stake", 10' of bungee, 30' of fishing line, carabiner, small key ring and wire hook.
After finding a suitable nearby field I then tried out the bungee:
This showed that the plane need more forward weight, so I returned home to prepare for another flight.
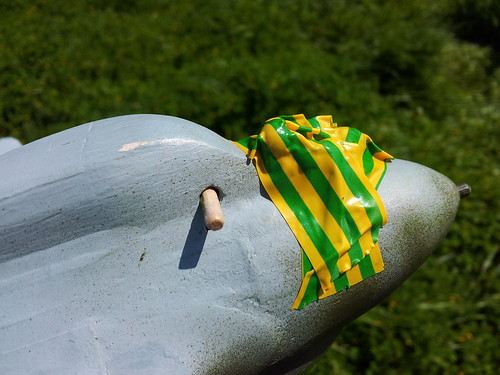
Next time I taped a large number of fishing weights (nowadays tungsten instead of lead) to the nose before I tried again:
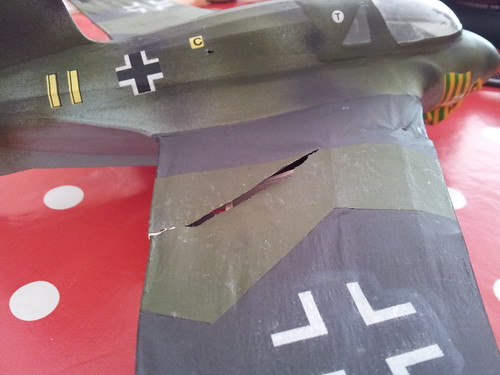
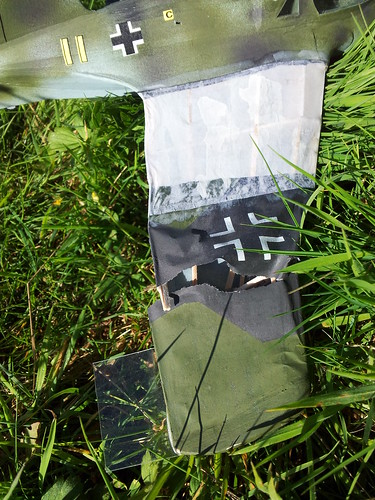
A little better, but the ME 163 was still zooming up and high and stalling. This time this resulted in a fair bit of wing damage and repairs were needed:
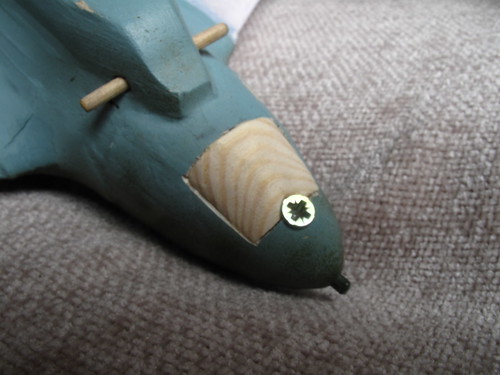
I also hollowed out the nose cone and added a small hatch so I could add more weight easily (and adjust in the field as needed):
I skipped repainting before the next flight - which turned out to be a good thing:
The final flight worked better than before - at least in terms of stalling etc. There was the slight issue of nearly losing the ME 163 after it hit a tree. I spent a good 15 minutes looking for it in the underbrush. I guess that's the problem was painting a plane with camouflage.
At this point it seemed like retiring the ME 163 was a good idea. I had some moderately good flights and learnt a fair bit, but constantly having to rebuild would get boring quick. So it seems that the model ME 163 lived up to it's real life counterpart's reputation and crashed before it could engage in much real action.
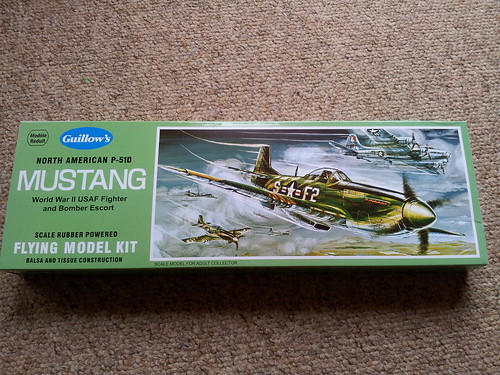
So instead of rebuilding the crushed wing I have a Guillow's P51 Mustand to build:
Unlike the ME 163 this is designed for rubber band power. The bungee cord used for the ME 163 exerted quite a force, which probably didn't help prevent damage. I'm hoping rubber band power will be a bit gentler...

