After acquiring some aida and a set of fairly cheap embroidery silks, I decided to try my hand at cross-stitch. As with a lot of craft related activities cross-stitch and embroidery are having a resurgence. The fact that cross-stitch is essentially the first form of pixel-art makes it perfect for rendering old-school 8bit/16bit graphics. Heading over to the Sprite Database I found the sprite for LeChuck from Monkey Island 2: LeChuck's Revenge.
I printed out the image of LeChuck from the sprite sheet on a piece of paper with a grid, so it was easy to see the individual pixels. Then I got going:
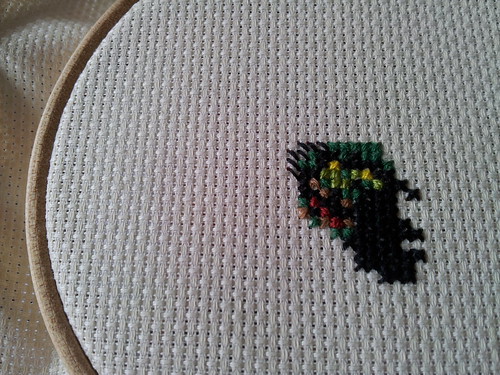
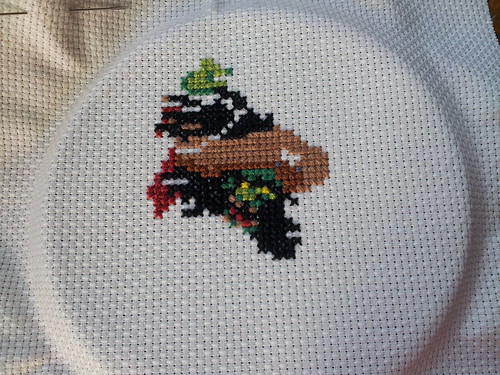
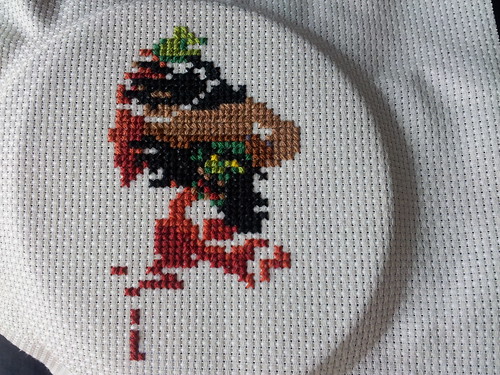
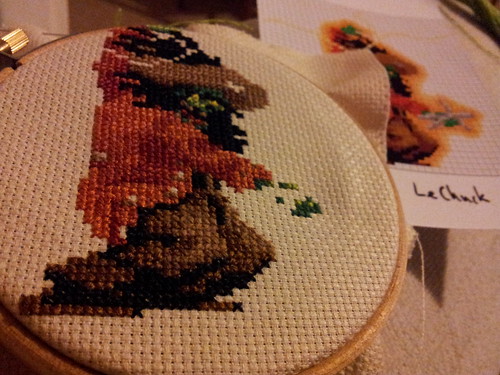

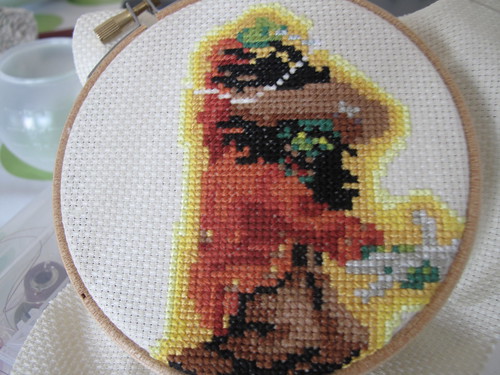
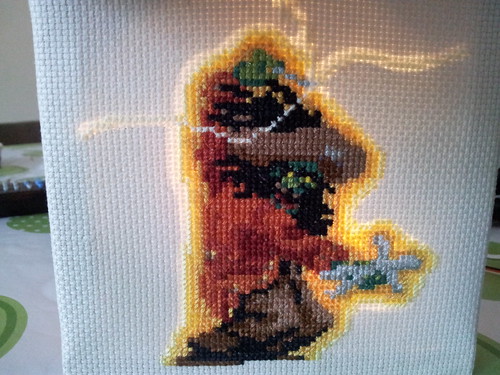
It took quite a while to get all the cross-stitch done, but it was quite satisfying seeing it slowly taking shape. There were a few mistakes along the way, but none so major that couldn't be dealt with.
So now I had a cross-stitch of LeChuck wielding his voodoo doll of Guybrush, surrounded with an aura and lightning - now what? Well how about attaching some LEDs and electronics to light up the aura?
So first I taped some card to the cross stitch and used a pin to mark out the outline of LeChuck and his aura:
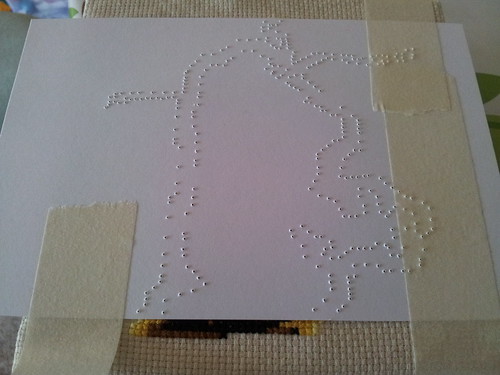
Then this was placed behind the cross-stitch to help form a suitable silhouette:
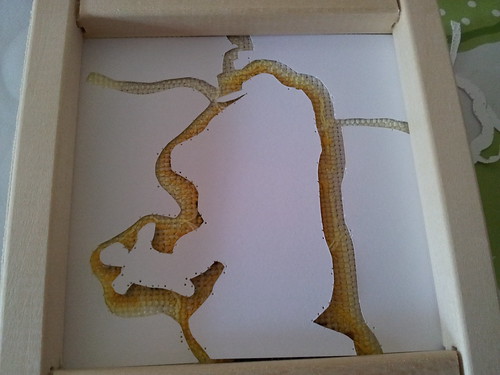
That then did a reasonable job of blocking the light from a torch, except in the places that I wanted it to show:
The next job was to get the LEDs working. For this I chose to use some super-bright LEDs from oomlout. I initially started out using my Arduino to control the LEDs using charlieplexing:
Charlieplexing is basically a way of running lots of LEDs off only a few physical pins on a micro-controller. The main thing to know about it is that it complicates the wiring a fair bit and you rapidly turn on and off the LEDs to create the illusion that more than one LED is lit at a time.
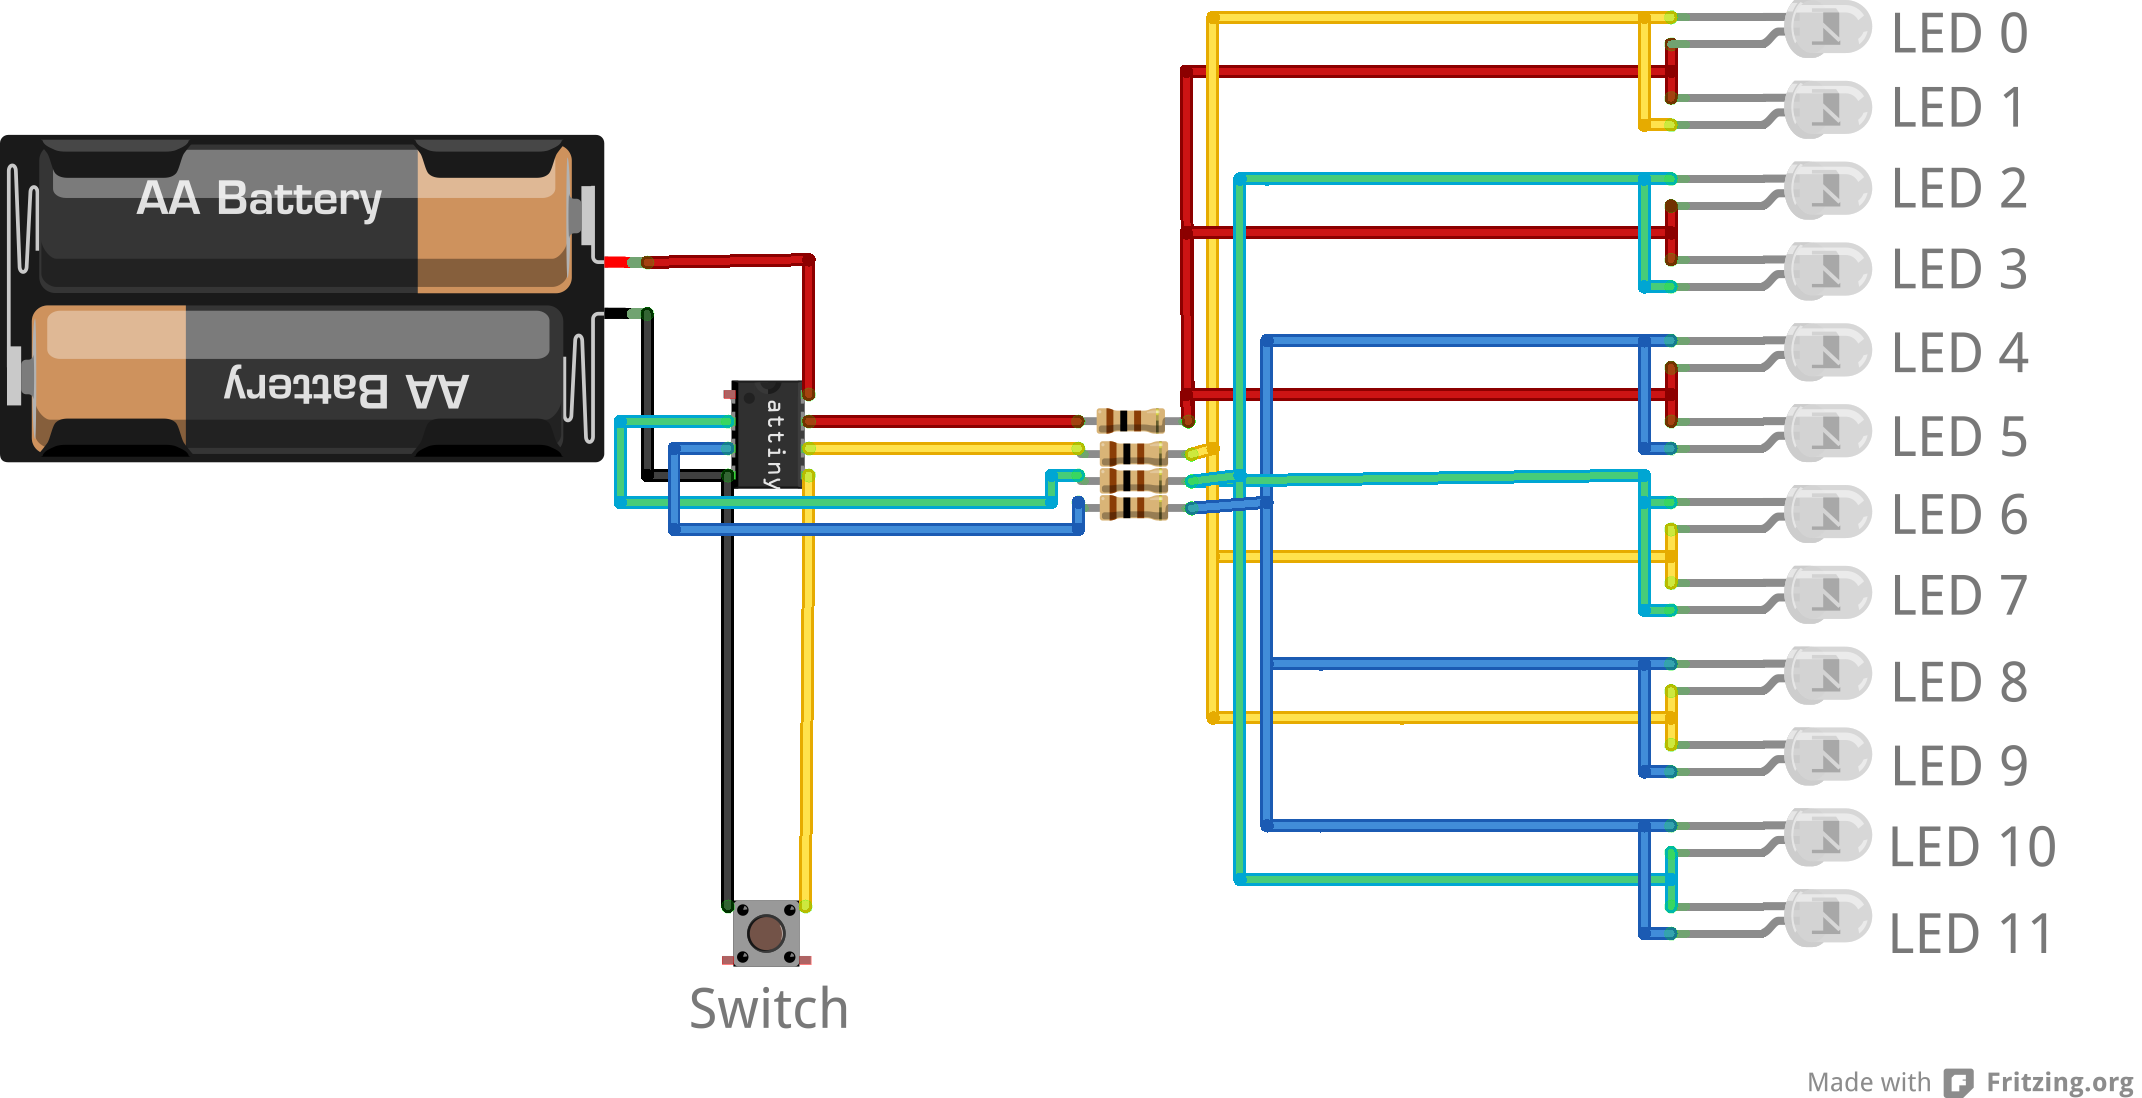
I found this guide on Instructables that really helped to understand how to wire up the LEDs for charlieplexing. The main trick was to arrange the LEDs in pairs. Each LED in a pair share the same two connections, but are wired in the reverse direction. So when one LED in the pair is on the other must be off (and vice-versa).
Here's the final circuit using 12 LEDs:
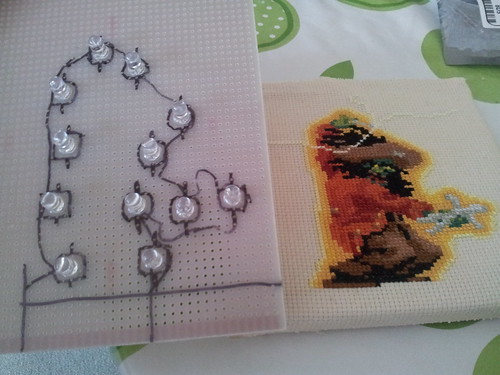
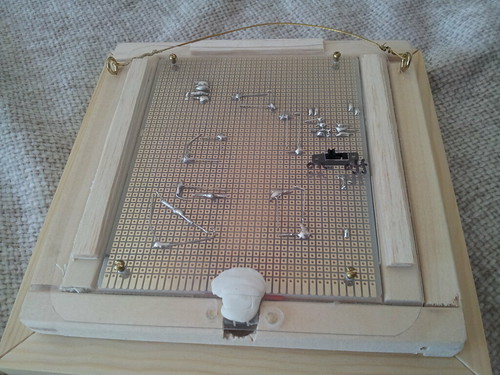
Once I had some basic code working on the Arduino and breadboard it was time to make the circuit more permanent. First I soldered the LEDs to some perf-board:
I made sure that I added a female header to the LED circuit board so I could easily check everything was wired up properly. I also changed to using an ATtiny at this point, so I could make sure that everything would work properly in the final version.
Adding the header also meant I could finish writing the animation code using the LeChuck embroidery in place:
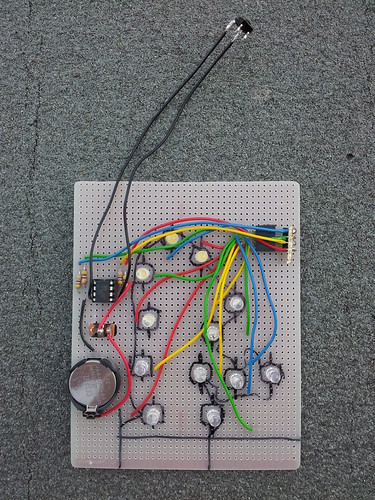
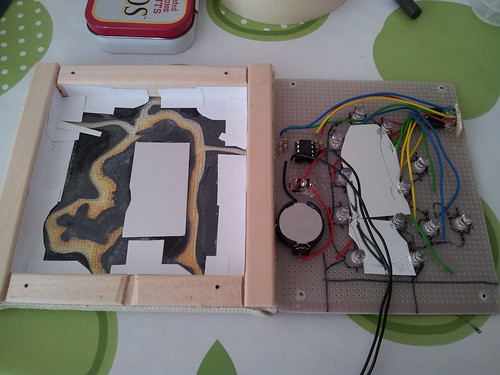
With the code tweaked and finished I then soldered on the final pieces of the circuit - resistors, an ATtiny85, switches and a coin cell battery holder.
Then I made sure that the silhouette behind the cross-stitch was all stuck in place and all of the edges were sealed to avoid light coming through. I also added in some black sugar paper to make the card more opaque and a bit of shiny silver card to help reflect the light from the LEDs.
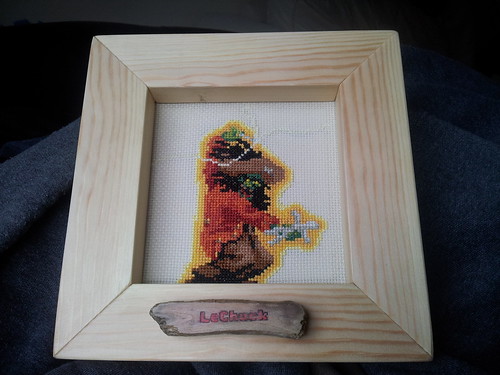
Now I had the electronics and cross stitch done, but it still wouldn't look like a lot on it's own. So a frame was needed. For this I simply used a mitre box and tenon saw to create a basic frame using some pine:
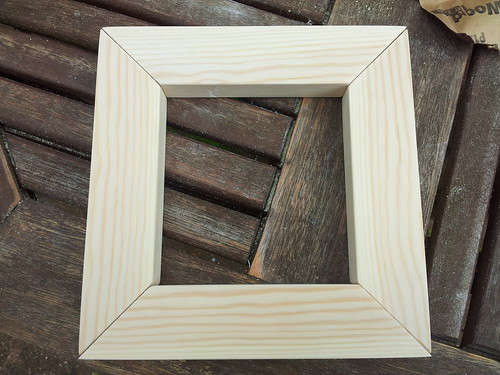
I used a strap clamp to hold this in place whilst I glued it with wood glue. I also glued a smaller wooden frame behind it to hold the cross-stitch in place.
Next I fashioned a button out of a piece of driftwood. I transferred the text "LeChuck", printed in the right font for Monkey Island 2, onto the button using some watered down PVA glue.
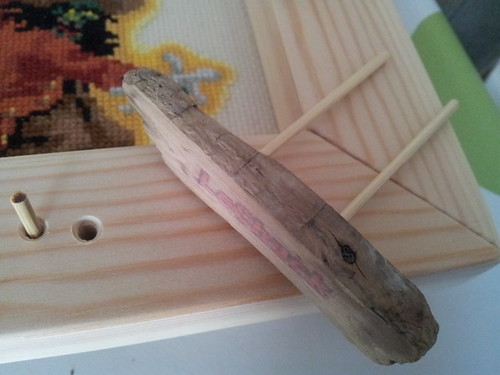
I then mounted the push button from the circuit behind the wooden button, using some milliput. The wooden button pushes a small dowel through a hole which in turn pushes the push button - which wakes the ATiny from sleep to run the LED animation. After the LED animation sequence runs then the ATtiny goes back to sleep, using only a tiny trickle of power. This should mean the 3V watch battery I'm using should last for a few months at least.
The LEDs don't show up so well in bright light through the aida fabric (I think I should have put in much lower value current limiting resistors), but in low light they show up really nicely.

As usual the code is in my Arduino Sketches repo.