
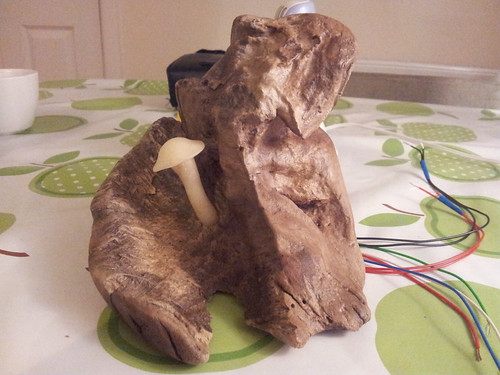
For the main part of the nightlight I used a piece of wood I found in our front garden. I sawed the end off this, which had some really lovely knots in it and sanded it all off and cleaned up the awkward bits with a Dremel.

I then varnished the wood and made a mushroom out of translucent Fimo with a RGB (three colour) LED embedded inside it.
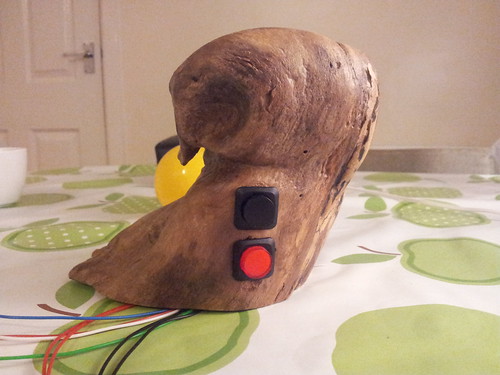
I also created holes for two buttons and stuck those in place. One button was the on/off switch, the other being used to change the colour of the LED.
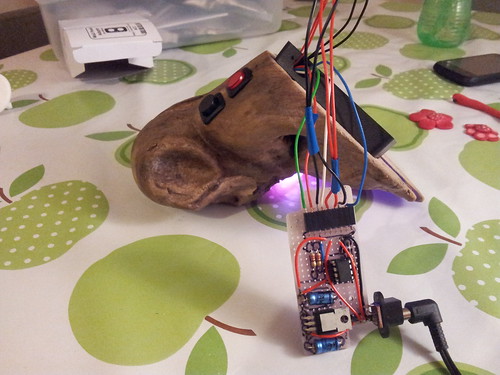
Then I soldered up the ATtiny with a power regulator (to convert the 9V power supply to 5V) a couple of capacitors (to help smooth out the power) and some resistors. I tested out the circuit connect to a breadboard with a switch, RGB LED etc before trying it out in the nightlight itself. The switch is connected to pin 0 of the ATtiny and ground (an pullup resistor is set to avoid needing a extra resistor in the circuit). The red, green and blue cathodes of the RGB LED are connected to pins 1, 2 and 3 of the ATtiny with current limiting resistors.

And that's basically it. The code for the nightlight is here on github. The code runs a simple state machine to deal with button presses, fading the LED from one colour to the next and storing the colour chosen to EEPROM (so the colour is remembered for next time the light is turned on). There's a little delay before writing to the EEPROM - in case the button gets pressed again. As EEPROM has a limited number of times it can be written to this seemed like a not so terrible idea. Hopefully though the EEPROM should still last for quite a long time anyway, as it's rated for 100,000 writes before it fails.